Saturday, June 15, 2013

Lusia Weiss's Potato Salad (Kartoffelsalat)

I've made this dish for the past couple of weeks in a row.  Those of you that are linked to me on facebook have seen the images (I think for a couple of weeks in a row... eek!).  Here's the recipe finally, my apologies for the delay in posting this one.  

This recipe is taken from Luisa Weiss (author of this blog) book, My Berlin Kitchen.  The Dutch are  quite particular concerning their potatoes and since they are eaten as a staple here, they command much attention.  As a result, we have had the pleasure of trying new varieties from the local farmer's market and I use this recipe and will continue to do so to determine if the new variety of the week suits our taste buds.  I suspect, similar to our mozzarella di buffala needs, we will become quite snotty in the way of choosing potatoes... well... there are worse things in life.

This recipe is easy and saves well (if it lasts in your household) throughout the week.  I also think this would be a great recipe for an outdoor cookout or family grill night.  


Ingredients: 
1/2 kilo of potatoes (or about 1 lb of potatoes - choose a variety and see what you think, I haven't found one in particular I'm ready to recommend)
3.5 tablespoons unsalted butter (this can be reduced if desired, but you will need some... )
1 shallot, finely chopped (Lusia calls for 2 yellow onions, finely chopped - I tried this the first time around and wasn't a huge fan of the onion texture or flavor in this dish, the shallot offers much more of a muted flavor and of course, integrates well into the white wine)
2/3 cup of white wine vinegar (this can be reduced, but not by much...)
1 and 1/3 cup of vegetable broth (Lusia calls for beef or chicken broth - I am sure the flavor is enhanced, espeically if you use homemade broths.  If not, a cube combined with water works just fine)
2 tablespoons of mustard (Luisa calls for Dijon, I have been using whatever is in my fridge, use whatever you like, but I would recommend you stay away from something like French's mustard)
3 tablespoons of olive oil (Luisa suggests sunflower oil could be used as well, I haven't tried this)
Freshly ground black pepper
2/3 cup loosely packed flat-leaf parsley, minced. 

*Note, I doubled the sauce (/marinade) recipe from Luisa's recipe since we prefer this salad a little more flavorful... if you prefer a more subtle flavor, half all of the marinade ingredients, except for the shallot.

Directions:
(Note, these are my directions, based on Luisa's recipe from her book).

1. Wash the potatoes and cut the potatoes in half (for the large ones I cut them in quarters) the long way. 

2. Place the cut potatoes in cold water that has been salted (I use large grain salt, but fine grain would be fine; use as much salt as you would when you salt pasta water).  Boil them (allow the potatoes and the water to come to a boil together) until they are fork tender (the fork should slide through, but experience a little resistance - check this using the thickest potato in the pot, about 20 to 30 minutes of total cooking time, including the time it takes the water with potatoes to come to a boil).

3. Once tender, drain the potatoes and allow them to cool.
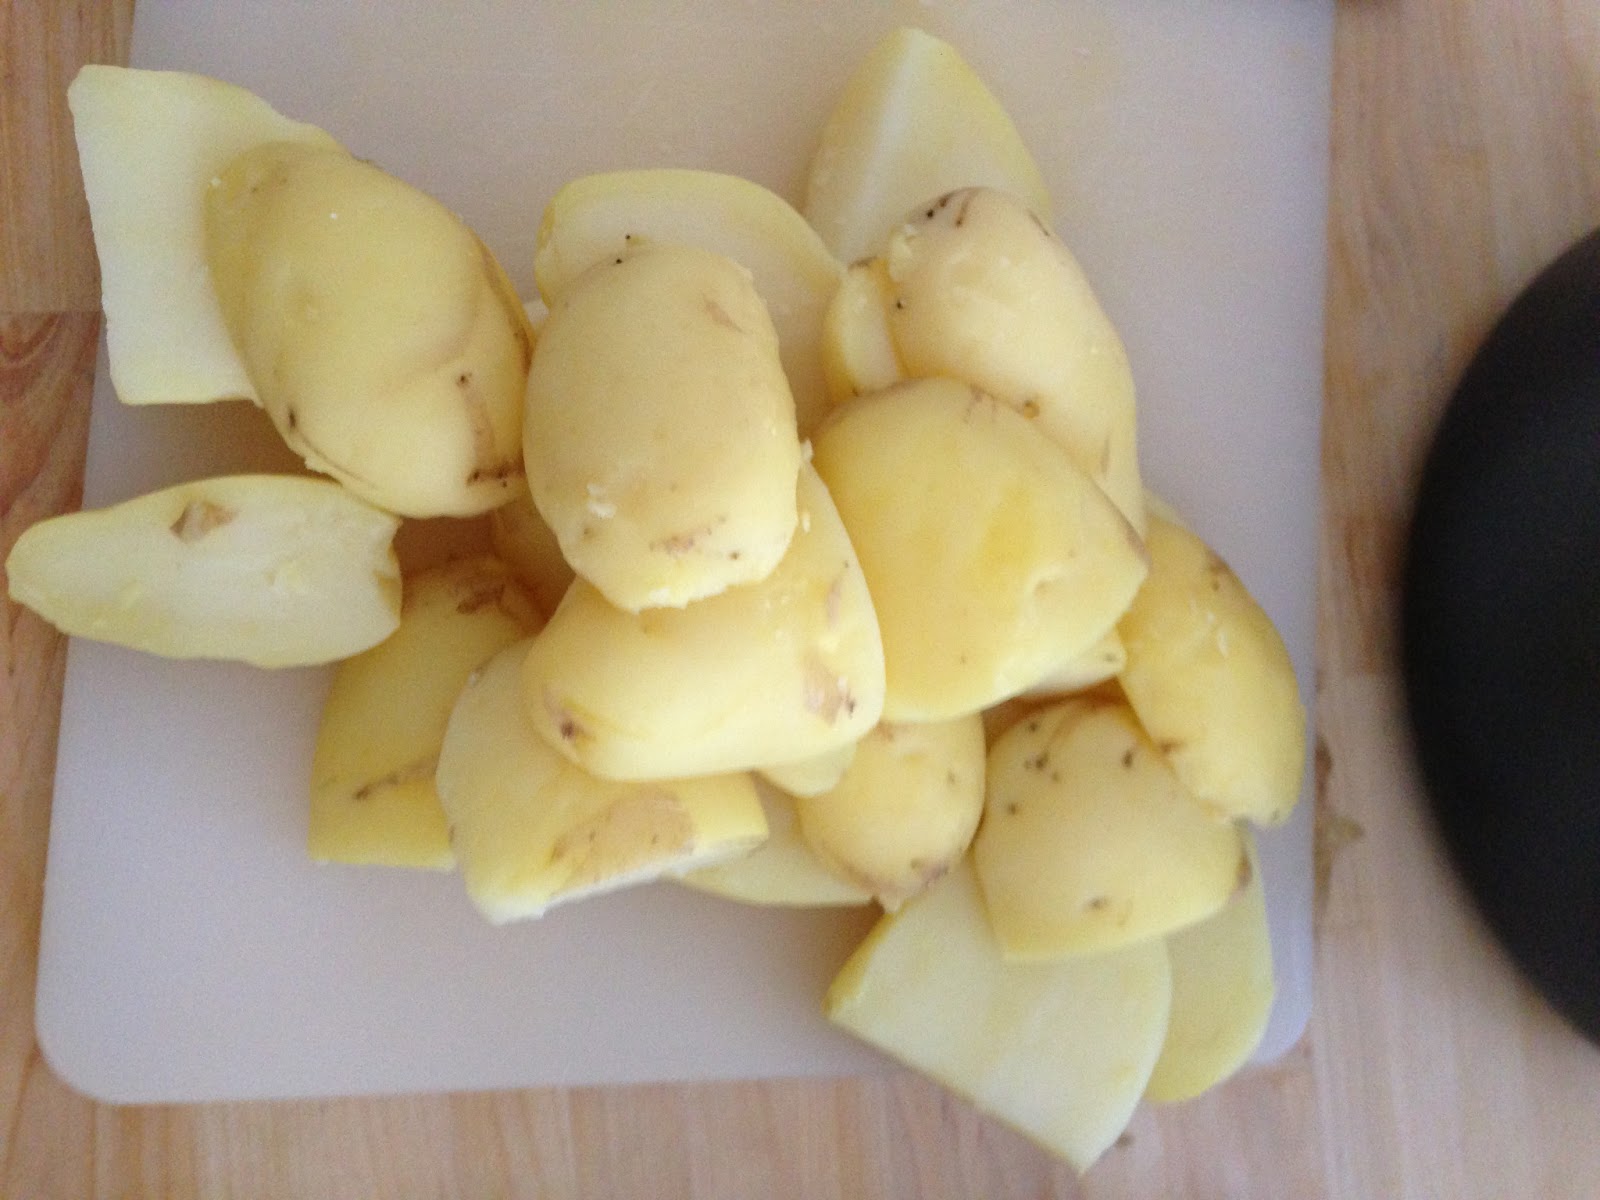
4. Peel the potatoes and cut them into bite size cubes and place into a serving bowl. Set aside the potatoes.
 
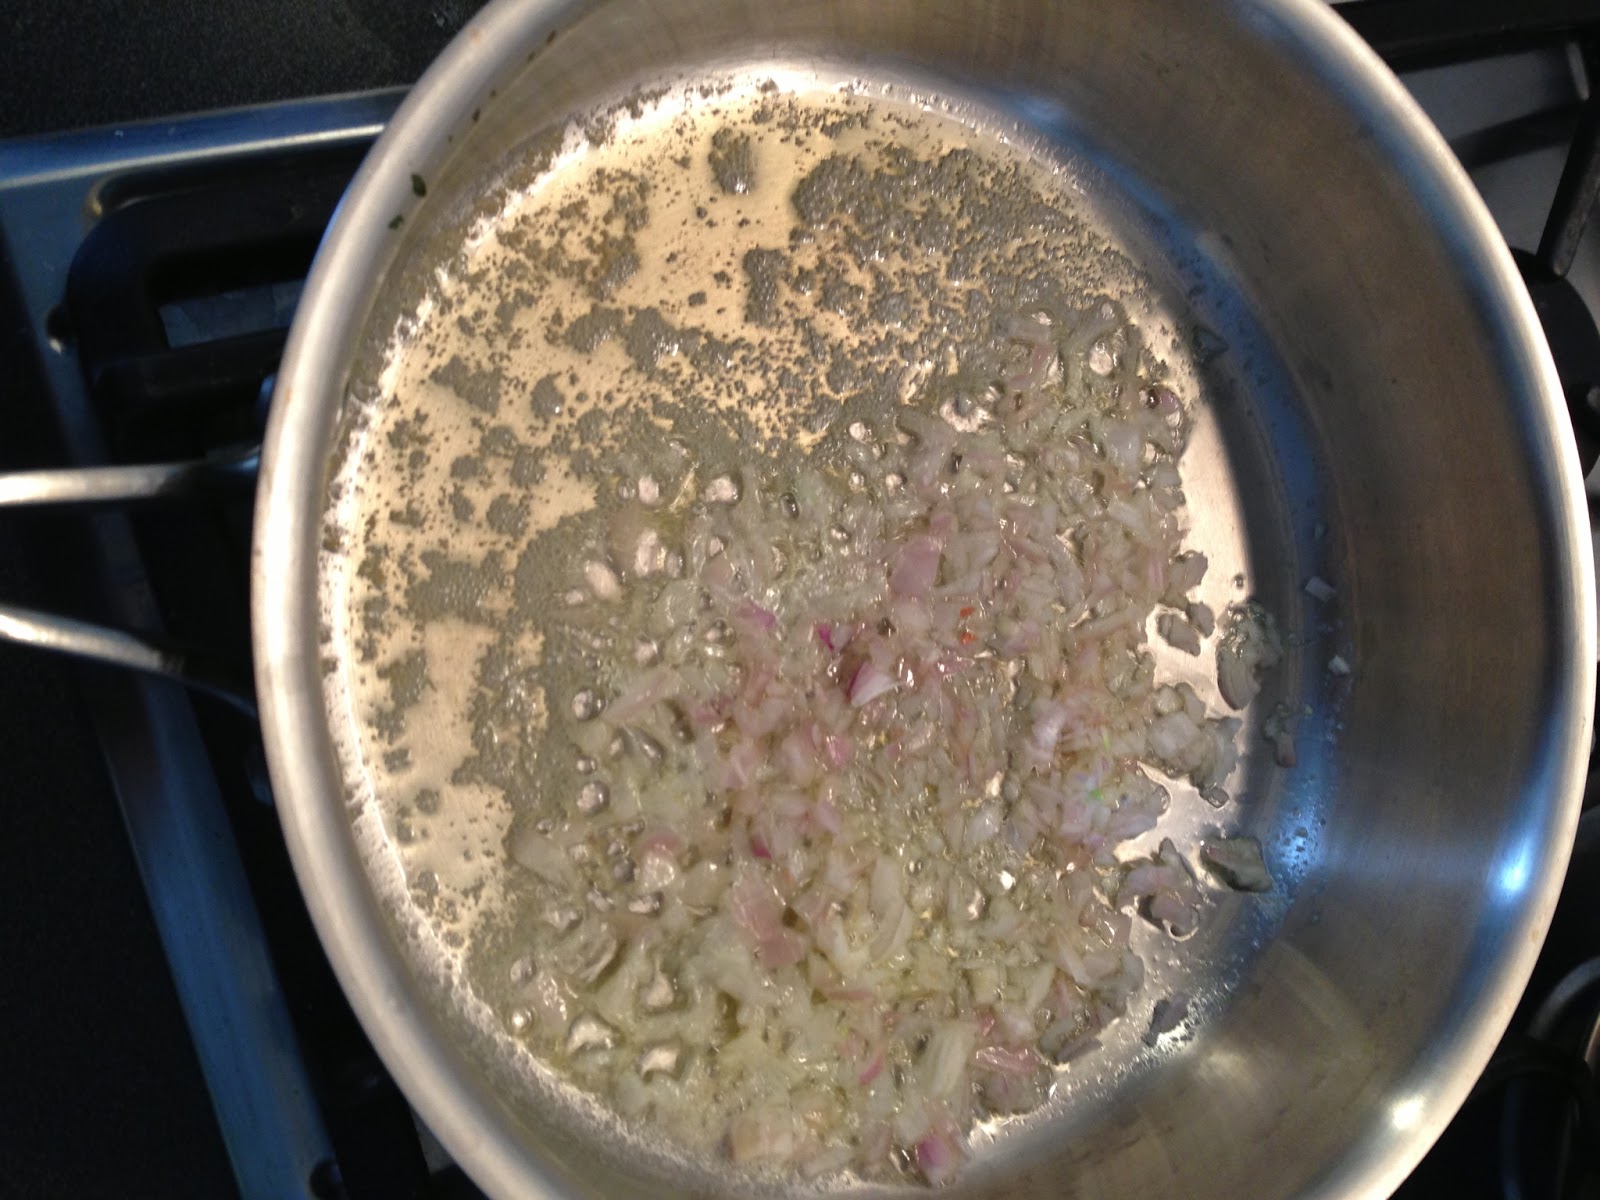
6. Melt the butter in a saute pan and add the shallots.  Mix well and cook for 3 minutes (I actually used a timer for this and the time seems appropriate) over medium heat. The shallots should begin to loose their color, but not brown.

 
7. Pour in the vinegar and then the broth.  Add the mustard and stir well.  Let the mixture simmer over low heat for an additional 3 minutes (I also tried this time and it seems appropriate).

8. Pour in the oil and wisk the sauce together.
9. Pour the hot marinade over the chopped potatoes.  There will be some extra sauce left and it may take some time for the potatoes to soak up the rest of the solution. 

10. Add the minced parsley and mix well.  Taste for seasoning (add more salt and freshly ground pepper as desired) and serve.


Lusia mentions a couple of variations which I think are worth mentioning, but I have not tried them myself.  She recommends adding bacon on Speck, which you can fry in the butter (she indicates to reduce the amount of butter by a tablespoon) before adding the shallots/onions.  I think you could also do this after the salad has been made and mix it in once the meat is cooked.  She also suggests adding diced French cornichons to the salad to 'bump up the sour, crunchy factor' - maybe a great option for a hot, summer day.

I hope you try this recipe and please let me know what you think!

Wednesday, June 5, 2013

Apartment Organization - Master Bedroom

When we saw this apartment for the first time, we decided we wanted the owners to move the second bedroom wardrobe closet out of the apartment completely... we thought we wanted the extra space.  It turned out the owners couldn't manage it and left it in the bedroom.  We moved in and quickly figured out that while we do want the extra space in the second bedroom, we also wanted to the extra closet in the master bedroom as one wardrobe closet was not enough space for us.
Second bedroom closet we moved into the master bedroom
The closets are, of course, IKEA, however they were not decked out with the classic IKEA organizational items.  The closets contained simple shelves and a couple of bars to hang pants, shirts, dresses, etc.  We tried the shelf space as it was for a couple of days and quickly realized we needed more items to help us organize the closet space.
Other closet inside the master bedroom

Larger closet with mirror front.
In this closet, we decided to leave the left hand side mostly as is to hang my husband's button down shirts and pants and my suits.  We did add a tie/belt rack on the left hand side closet.  On the right hand side is where we did most of the work.  We put in four pull out drawers and moved the shelves around for the top of the closet.  The bottom three drawers are mine and the rest are used for my husband's clothing.

Left hand side closet with tie/belt rack

Right hand side closet drawers
Within the drawers themselves I have used the white box organizers to help separate items.  These work for smaller items, but do not work for sweater, pants, ski stuff, etc.
Drawer organizers

At the top of the mirror closet I purchased two white containers (similar to the drawer organizers, but they have a zip top and the bottom does not contain a stiffener, only the sides) from IKEA to store our comforter, quilt, extra sheets, extra pillows, etc.  I love the way these look.  Everything looks so nicely put away and compactly stored.  So clean and sleek! You can find these in the closet section at IKEA.

Smaller closet with opaque white front.
In this closet we installed shoe racks at the bottom of each and one drawer on the right side.  The rest is as you see it.  The shoe rack is great... my husband is not a fan of the fact that these are plastic holders, but he's willing to work with it for now.  Sandals do not work well with this type of shoe rack and so I've placed them next to the laundry basket in these (also IKEA) boxes where they can easily be pulled out.  TBD on if that will change. This closet also contains a belt/scarf rack for my items. 

Right hand side of rack with long clothing items and shoe rack

Right hand side of closet shoe rack

Right hand slide of closet with belt/scarf rack

Also, we bought these laundry baskets which I have placed in the master bedroom as shown in the image below and in the bathroom.  These are great, good quality wicker laundry baskets which look clean and sleek in our rooms.  I'm really liking them... but I'm considering getting another one to be able to split my laundry by colors. :D
Laundry basket in the master bedroom

In practice, we're loving our closet organization so far! We opted for the cheaper wire rack drawers, but you could always purchase the full panel wooden drawers, which definitely look more complete and professional, but you will pay the price for them (8 euro compared to 30 euro per drawer).  Good luck on your closet organization!

Sunday, June 2, 2013

Luisa Weiss's Braised Endives

I cannot sing the praises of this dish enough, it's a must try and a great way to try a new vegetable you may have never tried before (I certainly had not!). I found this recipe in Luisa Weiss' book, My Berlin Kitchen: A Love Story (with Recipes) who writes this blog that I have been following for a couple of years.  

Ingredients
2 endives (Luisa calls for 3 or 4 Belgian endives)
3 tablespoons of olive oil
pinch of sugar
salt and freshly ground pepper to taste
juice of 1 lemon
1 tablespoon of butter (optional; note, I did not use this)

1. Wash and dry the endives and pull off any discolored outer leaves.  Cut them in half lengthwise and trim off the root end, but leave the root end intact.  Cut out the inner core (I struggled with this part, I wasn't exactly sure what consisted of the inner core... you can see in the photo what I removed, but I think more needed to go since it was difficult to cut through while eating). 

2. Heat the olive oil in a heavy, lidded 3-quart saute pan over medium heat.  Put the endives, cut side down, in the pan.  Let the endives cook for 3 to 5 minutes on each side, letting them brown but not burn. 


3. When all the endive halves have been browned on both sides, sprinkle them with sugar, salt and pepper.  Let the sugar melt for a few seconds (I never really observed this, it was more or less immediate - however I probably could have used more sugar... it's difficult to judge what a pinch means!).  Then add the lemon juice, immediately turn the heat to low, and cover the pan (While I used the juice from one lemon, there wasn't much liquid.  Usually braising means the item simmers in a liquid, but since there wasn't much liquid from the lemon and recipe does not call for any other liquid, I was concerned.  After consultation of other braised endive recipes and my husband, it seems this is ok and it turned out great, so don't be worried if there isn't much liquid).

4. Let the endives cook for 15 minutes.  They should be fork tender and caramelized (my endives were large, so they took 30 minutes).  Remove the endives from the pan and put them on a serving plate.  Raise the heat to medium and reduce the cooking juices int the pan to a think syrup, sitting for 2 to 3 minutes (since I didn't have much in the way of extra sauce, I added less then half a ladle of vegetable broth and let it reduce for a little while, not more than 5 minutes).  If you want a richer sauce, add the tablespoon of butter to the pan and stir it in until it has melted and emulsified, creating a silky sauce, an addition 3 to 5 minutes (as per above, I did not use butter).  Pour the sauce over the endives and serve immediately.


Endives are known to be bitter uncooked... braising makes this vegetable much more approachable.  The combination of the sugar and lemon juice draws away the bitterness and the caramelized sides bring a nice roasted flavor to the dish.  The centers of these endives were artichoke heart like, smooth and silky. Enjoy this dish if you try it ... I would love to hear what you think!

Mushroom Tagliatelle

Last weekend I purchased a kilo of mushrooms after being so smitten with my cream of mushroom soup.  While I thought I would be turning them into soup, the mood just never struck my fancy... so I came up with an on-the-fly pasta dish.  I give full credit to my experience of living in Italy to this one... the meal came together without a pre-defined recipe, was pulled together based on what was in the fridge, and is very reminiscent of a typical weeknight meal in Italia.  Funny enough, I felt like I was home (whatever and wherever that is?!) eating this dish... 

Ingredients:
~500 grams of cremini mushrooms sliced and dry
1/2 of a yellow onion
2 tablespoons of olive oil or butter
Tagliatelle pasta (enough for 2 people), any other variety of pasta may be used
minced parsely
salt and pepper (to taste)
large spoonful of ricotta

1. Bring a large stockpot of water to a boil (for the pasta - once boiling, add in salt)
2. Heat olive oil or butter over medium-high heat
2. Add onions and saute until translucent
3. Add sliced mushrooms to the pan and saute.  Add salt and pepper to taste. 


4. Mince parsley and set aside. 
5. Once pasta water is ready, add enough pasta for 2 people (I had leftover Tagliatelle from Italy, but anything will work)
6. Once pasta is cooked al dente, remove from water and add to saute pan with mushrooms.  Add ricotta and combine until all the ricotta is mixed into the dish(this will take some effort, but have some patience and it will come together) .


7. Top with parsley and serve. 

Super simple, really tasty, and hopefully uses up some food sitting in the fridge.  I hope you try it... Enjoy!


Sunday, May 26, 2013

Cream of Mushroom Soup

Saturday's mornings here in Eindhoven mean trips to the farmer's market.  When we lived in Italy, the year round farmer's market near our apartment was a every other day adventure for me and weekends were left to the big farmer's market in the center of town (many claim it's the largest open air fresh market in Europe, but I'm not sure about that).  Anyway, at the Eindhoven market we've been pleasantly surprised by the mushrooms and for a few weeks were buying up as many shitake mushrooms we could find and adding them to our pasta with tomato sauce (likely to be it's own post!).  Last week, the shitake's seemed past their prime, so we moved onto the cremini mushrooms, purely chosen for the scrumptious looks. Since I was feeling burned out on the mushrooms with pasta and tomato sauce combination, I decided to reach back into my 'vault' of starred recipes and make a cream of mushroom soup, adapted from this recipe.  I did not make a vegan version, but honestly it's on my list to try the vegan version (not because I aspire to be vegan, but because it sounds good!)... I will let you know how it turns out!

By the way, I think this soup would make a fantastic opening dish for Thanksgiving dinner... we're thinking of adapting it into our usual menu, but only time will tell if that happens :P

Cream of Mushroom Soup  (adapted from Joy the Baker, a blog I highly recommend you add to your reading list)

Ingredients: 

2 tablespoons olive oil
1 medium yellow onion, chopped
3 garlic cloves, minced
1 pound cremini mushrooms, cleaned and sliced
1 tablespoons soy sauce
1 tablespoon Worcestershire sauce 
coarse ground black pepper
3 cups vegetable broth
salt to taste
3/4 cup half and half or cream (check blog link for vegan instructions)


1. Chop a medium sized yellow onion and mince 3 cloves of garlic.


2. Wash 500 grams of cremini mushrooms and slice. 


3. In a large pot, warm 2 tablespoons of olive oil on medium-high heat.
4. Add onions and saute in oil until translucent and slightly browned. 
5. Add garlic and saute for 1 minute. 


6. Add sliced mushrooms, soy sauce, Worcestershire sauce (do not skip the soy and Worchestershire - the aroma is heavenly!), and black pepper and allow the mixture to cook for 5 minutes. 


7. Next add 3 cups of vegetable broth and allow the mushrooms to cook at a simmer until tender when stabbed with a fork. Approximately 10 minutes, but the best way to judge in my opinion is with the fork.


8. Once cooked through remove from heat. Using an immersion blender, blend the concoction. Alternatively you can use a food processor, check blog instructions for how to do this.


6. Add 3/4 cup (or as much as desired) of cream as much as  to the mixture. I added less than 3/4 cup (eye-balled it) since 3/4 cup seemed like a lot, this is a personal taste, how much creaminess to mushroom-ness you like.


The blog indicates to strain the soup to remove the clumps from the soup, but I prefer it clumpy so it was served like this.

I hope you try this recipe, it's fantastic!


Monday, May 20, 2013

Pork Meatballs in Broth

I tried another recipe on Friday night, adding more diversity to our weekly menu.  I used a recipe from this blog which also links back to a blog she was inspired from.  This recipe is a version of Nigel Slater's (apparently a well known chef in the UK) Chicken Broth with Pork and Kale from his book Tender. Um yeah, I need to do some more research on Nigel Slater.

Variations I made in comparison to the two blogs linked above are: I used vegetable broth from Eatly (still have some leftover!) instead of a homemade broth.  My chilies were green instead of red (not sure it matters, you want something spicy, but not overwhelming), I did not add kale or zucchini, just plain old meatballs and broth. I fried my meatballs as directed by the original recipe, but deviates from the original blog I found this from.  It would be worth trying simply steeping the meatballs as this cuts down the amount of cooking time and fat in the dish.  As I'm not very savvy in picking meat here in the Netherlands, I suspect I used full fat pork meat... would be worth seeing if I can get a leaner meat as well.  

Pork Meatballs in Broth
1. Add pork into a large mixing bowl
2. Finely chop chilies and add to mixing bowl
3. Slice scallions (discarding the roots and very darkest tips of the leaves) and add to mixing bowl. 
4. Mince the garlic and add to mixing bowl. 
5. Chop mint and parsley (I included the stems of the parsley, but used only mint leaves) and add to the mixing bowl (note, I chopped coarsely per blog's instructions, I will be modifying this the next time and chopping finer). 
 
6. Using your hands, mix thoroughly and form meatballs (recipe recommends 1.25 inches in diameter, basically make them bite size or whatever size is comfortable for you. I plan to modify the next time and make them much smaller). 
7. Bring the vegetable stock to a boil (season additionally if needed).  
8. Heat a thin slick of oil in a pan (I used a stainless steel pan, you can also do this in a cast iron pan) and cook the pork balls until each side has been cooked (and browned slightly).  Not more than 5 minutes. Cook in batches as needed. The meatballs do not need to be fully cooked as they will cook further in the broth.
9. Lower the cooked pork balls into the broth and cook on a low-medium heat for 5-10 minutes until the pork balls are cooked through (I checked by pulling one out and cutting through to check for pink meat).  Serve immediately. 


You can see some of the herbs fell loose from the meatballs, one reason to chop finer to more easily incorporate the ingredients.  On the other hand, we actually liked the herbs floating around as it gave a nice flavor to the broth combined with the richness of the meat.  You can make the meatballs ahead of time (I had them prepared a couple of hours before I fried them up)... I would imagine they could be frozen, but I haven't tried that yet myself. 

The flavors of the spicy chilies combined with the mint and parsley came through beautifully in this recipe.  After letting the broth sit for a while, the spicy chilies became more pronounced in the broth which was a lovely touch.  I especially loved getting bits of mint and I think this recipe would do well with a touch of cilantro too! If you are looking for something new, this is a great recipe.  Compare with the other blogs I've linked to to see how you would like to make your soup!


Saturday, May 18, 2013

Basil Deviled Eggs

At the friendly nudging of my husband, I've been trying to incorporate new foods into our weekly menu more often. I track many food blogs and through Google reader (for the moment) star those that sound interesting to me. Correct or not, I choose recipes based on my access to the ingredients listed, its general ease (n techniques I am familiar with or willing to learn), and how good it sounds (unfortunately I am also influenced by the food photos too).  This recipe is from this blog, which I only started following recently, however rather than pesto I used a basil and olive oil blend. Obviously you could tone down the amount of basil here, but as it turns out I really enjoyed the massive amount of basil!


1. Blend basil and olive oil. 

2. Hard boil eggs for 9-10 minutes if you want them to be a little underdone like mine. I used my fingers to remove the yolk and they peeled out just fine even though they were slight underdone. 

3. Scoop out the yolks and add them to the basil-olive oil blend.

4. Add a spoonful to each egg and you have basil deviled eggs!


Personally, I think these would be fun for Easter, and you could easily tone down the basil for a more pastel green.