Sunday, June 30, 2013

White Asparagus Risotto

I'm a believer in complete, full meals on the weekends.  While we haven't quite converted to actually eating at the dinner table, weekend meals for us, are usually complete, carefully prepared, and sometimes are a joint venture between my husband and I. This recipe is one I picked up living in Italy, but I actually cooked it in the oven.  As our apartment here doesn't have a proper oven, I've actually taken to making this back on the stove, as traditionally is done in the Italian way. We ate this for our Sunday meal and it was a nice treat.  Traditionally prepared risotto takes time... you must be patient with the rice and you must continuously stir the mixture, coaxing the rice to absorb the liquid, slowly but surely.  White asparagus are a Holland treat, these are a bit out of season as asparagus are a spring vegetable, but since the season is a bit late and it's still cool-ish here, they seemed appropriate to buy at the market.  This recipe can also be prepared and is much brighter with green asparagus or spring peas.

Ingredients: 
1L vegetable or chicken broth
20-30 white asparagus stalks, cut into bit sized pieces (green asparagus works for this recipe too)
2 cups of uncooked risotto rice
1 small shallot minced
1-2 tablespoons of butter
2/3 cup (up to 1 cup) of white wine (that you would drink)
1 cup of freshly grated Parmesan
salt and black pepper to taste

  1. Prepare the vegetable or chicken broth, after it comes to a boil, keep it warm on your lowest setting on the stove. 
  2. Melt the butter in a large saute pan.  Once the butter begins to sizzle, add the shallots and salt (be careful here depending upon how much salt is in the broth) and freshly ground pepper.  Saute until the shallots are translucent or beginning to brown, but not burned (3-5 minutes). 
  3. Add the chopped asparagus and saute until fork tender (I like mine with a little crunch still there, so this didn't take more than 5-7 minutes).  
  4. Once asparagus are cooked to your liking, remove from the pan and set aside. 
  5. Add the risotto into the same pan and allow the 'raw' rice to cook for 1-2 minutes (no extra butter/oil is needed here) on medium-low heat. 
  6. Add one ladle full of broth and allow the risotto to soak up the broth slowly (keep cooking on medium-low heat).  Once the broth is mostly absorbed by the risotto (when you push the risotto in the pan, liquid should slowly cover the spot where you pushed the rice away from, there should be very little to no liquid that the rice is swimming in). 
  7. Add the wine and cook in the same manner as described in step 6. 
  8. Once the wine has mostly cooked away (similar to as described in Step 6), repeat with the remaining broth, 1 ladle full at a time until the risotto rice is cooked al dente. 
  9. Add the cooked asparagus and Parmesan and stir together with the risotto rice.  Serve immediately with extra Parmesan and black pepper for garnish. 


This is one of my favorite weekend meals, it's comforting and it's a great way to use fresh spring vegetables (yes, even in end June! ...).  If you give it a try, let me know what you think! 

Sunday, June 23, 2013

The Silver Lining's Playbook by Matthew Quick Book Review


I'm starting something new, book reviews! I'm not sure how this will work out or if I will be able to keep up with it, but I'd like to give it a try.  Bear with me as it may be painful to watch/read from afar.  You will probably see changes, hopefully improving in content, but probably format as well as I begin to familiarize myself with various styles of writing book reviews.  By the way, if you have done this before and have any thoughts or suggestions, I would love your input. Drop me a comment and I'll find a way to get into contact with you.
_____________________________________________________________________

The Silver Linings Playbook
Pre-movie book cover
(Image taken from barnesandnoble.com)
The Silver Linings Playbook
Movie-Cover
(Image taken from goodreads.com)
The Silver Linings Playbook by Matthew Quick is about the story of Pat Peoples journey after his release from a mental health facility and his quest to be reunited with his estranged wife, Nikki. 

This book is written from the perspective of a healing man, one who acknowledges he has had past issues with anger and kindness (lack thereof, to be clear), but also doesn't remember past events.  The writing style, while it may be an accurate representation of how someone in this situation may think, is overly simplistic (which makes the book a very easy read) and therefore childish.  I know that is harsh and I would like to clarify that it doesn't mean the book is a bad read, but it does make it a little more difficult to appreciate for the perspective it tries to convey (that of a person healing in a non-physical, but mental way).  On the other hand, maybe it's more realistic.... I don't know!

This book digs deep into how Pat Peoples must find a way to cope with his anger and be a person other people can enjoy being around.  Pat's sole reason for dealing with these issues is to be reunited with his wife and finally end, 'apart time.'  Everything Pat does centers around this one goal, his extreme exercise, his continuous and very conscious need to be kind towards others, his classic literature reading, his odd and complicated relationship with Tiffany (his best-friend's wife's sister, who also has her own set of issues to work through)... all to end 'apart time.'  In the mean time, his family and friends and us, the reader, see Pat transform.

The lesson of this story, which you are introduced to early in this book (so don't worry, this is not a give away!), is that there is a silver lining in everything.  The subtly of this lesson is in how Pat Peoples processes his perception of the silver lining as he becomes more aware of his past events and his present surroundings.  In the end, I did appreciate the book for providing perspective on mental health complexities in an approachable manner, despite the writing style.  It clearly establishes the origination of Pat's anger back to his father, which sustains the test of time through his mother's inability to fight (interesting word in this scenario, but by this I mean to be firm in her desires for her husband to be a different person) back.  Pat Peoples learns to accept himself, for everything he is ... which although is a bit of a cliche ending I appreciate since it chooses not to ignore the fragile state of his mind (that is to say, it's not magically fixed after release, his ability to acclimate to society takes work, every single day).

I do recommend you read this book, but let it be for pleasure.  Take the writing style with a grain of salt and appreciate the style for how it contributes to the mental state of Pat Peoples. If you decide to read it, I would like to hear your thoughts on how the author's writing style contributes or does not contribute to conveying the state of mind of someone dealing with their mental health.

Saturday, June 22, 2013

Homemade Tomato Sauce - Italian Style


My all-time favorite recipe I picked up while living in Italy was a recipe for homemade tomato sauce.  Up until moving to Italy, tomato sauce for me was something that came out of a can or jar, a typical American approach.  As a result, dinners of spaghetti and meatballs, or pasta and red sauce were not my idea of a good meal.  After only a few short months in Italy, I came to the realization that tomato sauce was a staple in Italy and could be AMAZING, especially when made from scratch and even more especially when tomatoes were in season (August/early September). I originally started making tomato sauce, no matter what time of year, throwing cubed tomatoes in a pot (if you have a good, sharp knife it will go fast), allowing them to cook down with some olive oil, garlic and basil and then pouring the cooked sauce over al dente pasta or baked eggplant.  I would leave the skins on and seeds in and use our hand blender to combine everything together.  I still do this (with some variations – see recipe below), especially since there's a lack of storage space around here, but the one time we had the opportunity to make it the true Italian way was something I will never forget.  My husband and I joined his boss (at the time, anyway) who learned this from her former mother-in-law, an Italian. While she has passed away (the mother-in-law that is), her traditions have been passed on, albeit to a set of expats.  In this true Italian method of making homemade tomato sauce, we had cartons full of fresh, in-season tomatoes (ideally, you should use San Marzano’s), a huge cooking pot, a little gas burner, a de-seeder and de-skinner (electrically powered, although these are also manual as well), leaves of basil, copious amounts of coarse sea salt, and sterilized canning jars.  We started off by weeding out all the bad tomatoes and halving the good ones, throwing them into the huge pot sitting over the gas burner.  A handful or two of salt was thrown in and they were allowed to cook down until half or more of the water boiled off.  Next, the mixture was put through the de-seeder and de-skinner, and the final mixture was canned with a leaf or two of basil leaves.

The recipe to follow is the homemade tomato sauce I use on an almost weekly basis.  It's a good substitute once all the jars of the real stuff you made at the end of summer are finished.  This recipe serves as the base for seasoned sauces such as marinara, amatriciana ('spicy' Italian tomato sauce), or even simply roasted garlic and basil.  


Ingredients:
1 kilo tomato of tomatoes (use as much as you have, just be sure to accommodate the salt content)
Salt (course if available)

1. Chop tomatoes coarsely (approximately 1 cm x 1 cm x 1 cm in size) and put into a large stock pot.
2. Add a couple a couple of small handfuls of salt (it's better to go less than you think here because when you finish the sauce with whatever seasonings you want, you can add more salt)
Chopped tomatoes
 
Chopped tomatoes, coarse sea salt, just before cooking

3.Turn the heat to medium-high and allow the tomatoes to become soupy (very watery - that's ok!)
4. Turn the heat down to medium and stir occasionally to lift the goodness that collects at the bottom of the pot (if it's black or brown, you're burning the tomatoes and you don't want that, turn the heat down).  
5.  Cook until the sauce is half the amount of the chopped tomatoes (about 45 minutes).  Taste for salt and adjust as necessary. 

I typically season my tomato sauce by roasting garlic in a little bit of olive oil (heat olive oil, once warm, turn down to low and add the garlic - allow the garlic to roast in the oil, it will turn a golden brown), add the raw tomato sauce and basil and allow to cook together (low heat) until your pasta is ready.  

Buon Appetito!


Saturday, June 15, 2013

Lusia Weiss's Potato Salad (Kartoffelsalat)

I've made this dish for the past couple of weeks in a row.  Those of you that are linked to me on facebook have seen the images (I think for a couple of weeks in a row... eek!).  Here's the recipe finally, my apologies for the delay in posting this one.  

This recipe is taken from Luisa Weiss (author of this blog) book, My Berlin Kitchen.  The Dutch are  quite particular concerning their potatoes and since they are eaten as a staple here, they command much attention.  As a result, we have had the pleasure of trying new varieties from the local farmer's market and I use this recipe and will continue to do so to determine if the new variety of the week suits our taste buds.  I suspect, similar to our mozzarella di buffala needs, we will become quite snotty in the way of choosing potatoes... well... there are worse things in life.

This recipe is easy and saves well (if it lasts in your household) throughout the week.  I also think this would be a great recipe for an outdoor cookout or family grill night.  


Ingredients: 
1/2 kilo of potatoes (or about 1 lb of potatoes - choose a variety and see what you think, I haven't found one in particular I'm ready to recommend)
3.5 tablespoons unsalted butter (this can be reduced if desired, but you will need some... )
1 shallot, finely chopped (Lusia calls for 2 yellow onions, finely chopped - I tried this the first time around and wasn't a huge fan of the onion texture or flavor in this dish, the shallot offers much more of a muted flavor and of course, integrates well into the white wine)
2/3 cup of white wine vinegar (this can be reduced, but not by much...)
1 and 1/3 cup of vegetable broth (Lusia calls for beef or chicken broth - I am sure the flavor is enhanced, espeically if you use homemade broths.  If not, a cube combined with water works just fine)
2 tablespoons of mustard (Luisa calls for Dijon, I have been using whatever is in my fridge, use whatever you like, but I would recommend you stay away from something like French's mustard)
3 tablespoons of olive oil (Luisa suggests sunflower oil could be used as well, I haven't tried this)
Freshly ground black pepper
2/3 cup loosely packed flat-leaf parsley, minced. 

*Note, I doubled the sauce (/marinade) recipe from Luisa's recipe since we prefer this salad a little more flavorful... if you prefer a more subtle flavor, half all of the marinade ingredients, except for the shallot.

Directions:
(Note, these are my directions, based on Luisa's recipe from her book).

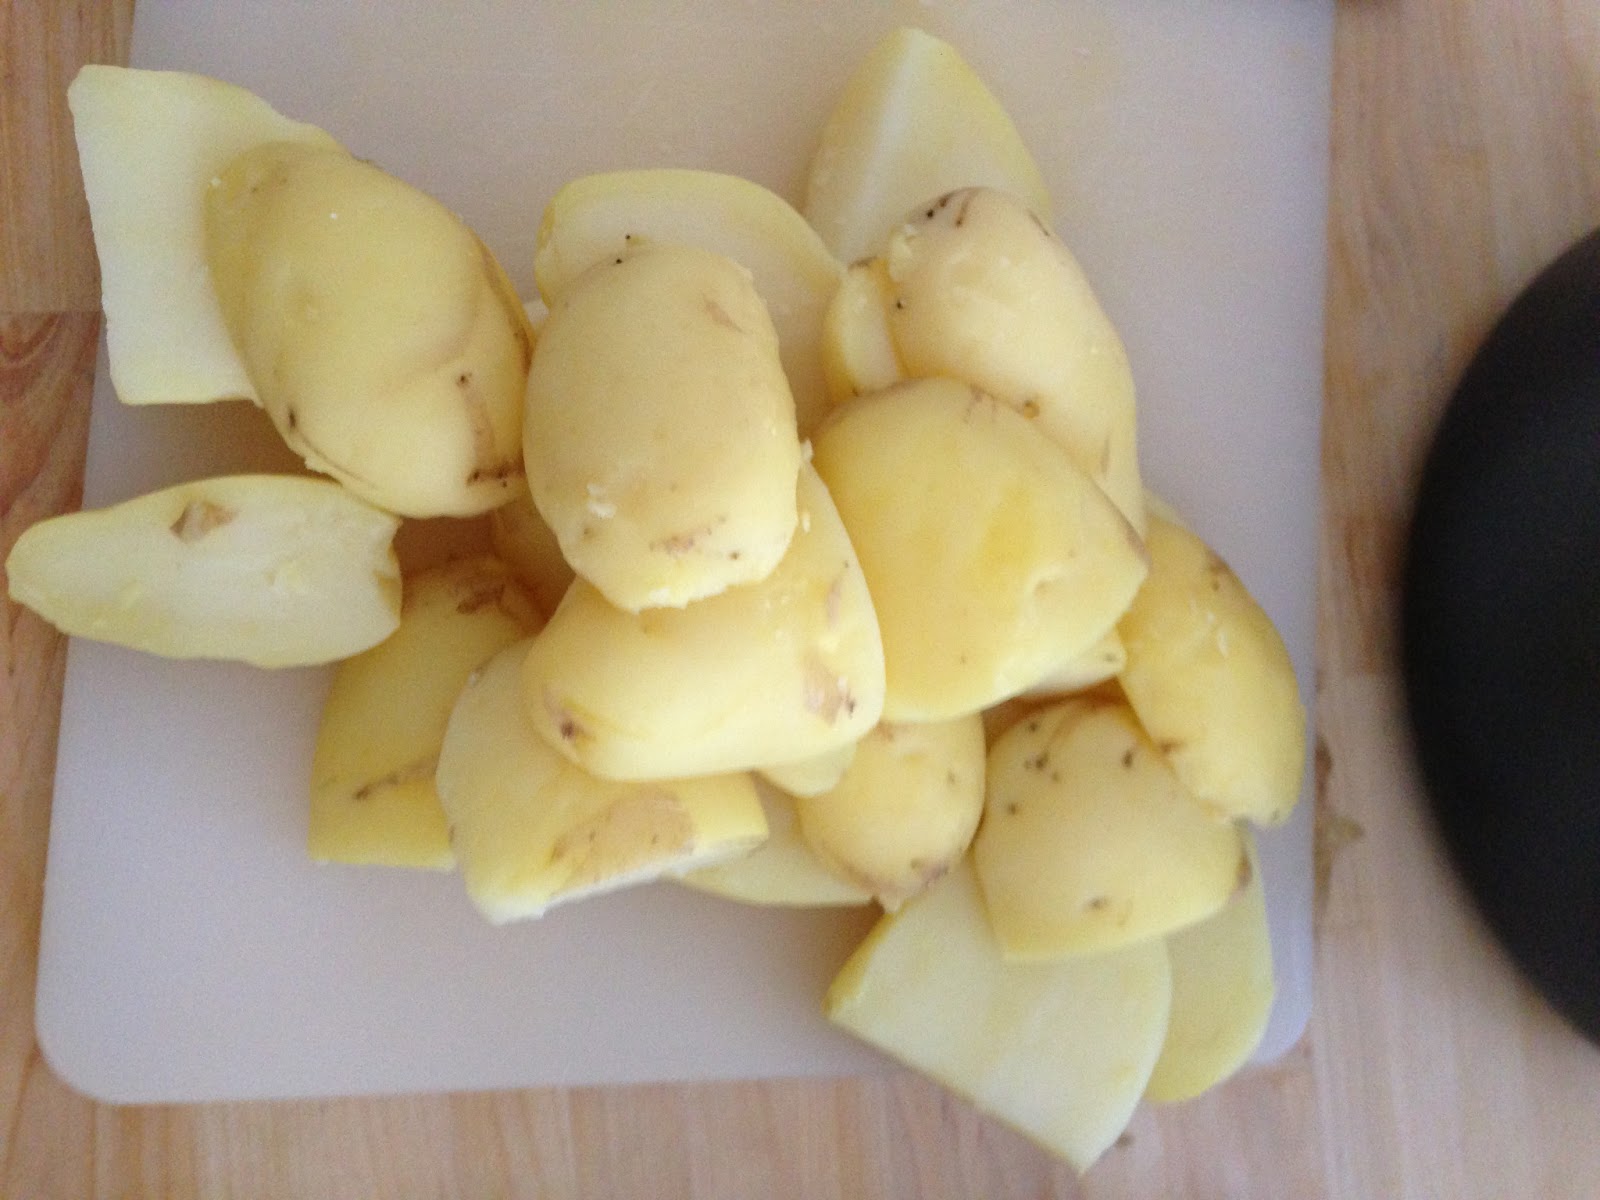
1. Wash the potatoes and cut the potatoes in half (for the large ones I cut them in quarters) the long way. 

2. Place the cut potatoes in cold water that has been salted (I use large grain salt, but fine grain would be fine; use as much salt as you would when you salt pasta water).  Boil them (allow the potatoes and the water to come to a boil together) until they are fork tender (the fork should slide through, but experience a little resistance - check this using the thickest potato in the pot, about 20 to 30 minutes of total cooking time, including the time it takes the water with potatoes to come to a boil).

3. Once tender, drain the potatoes and allow them to cool.
4. Peel the potatoes and cut them into bite size cubes and place into a serving bowl. Set aside the potatoes.

 
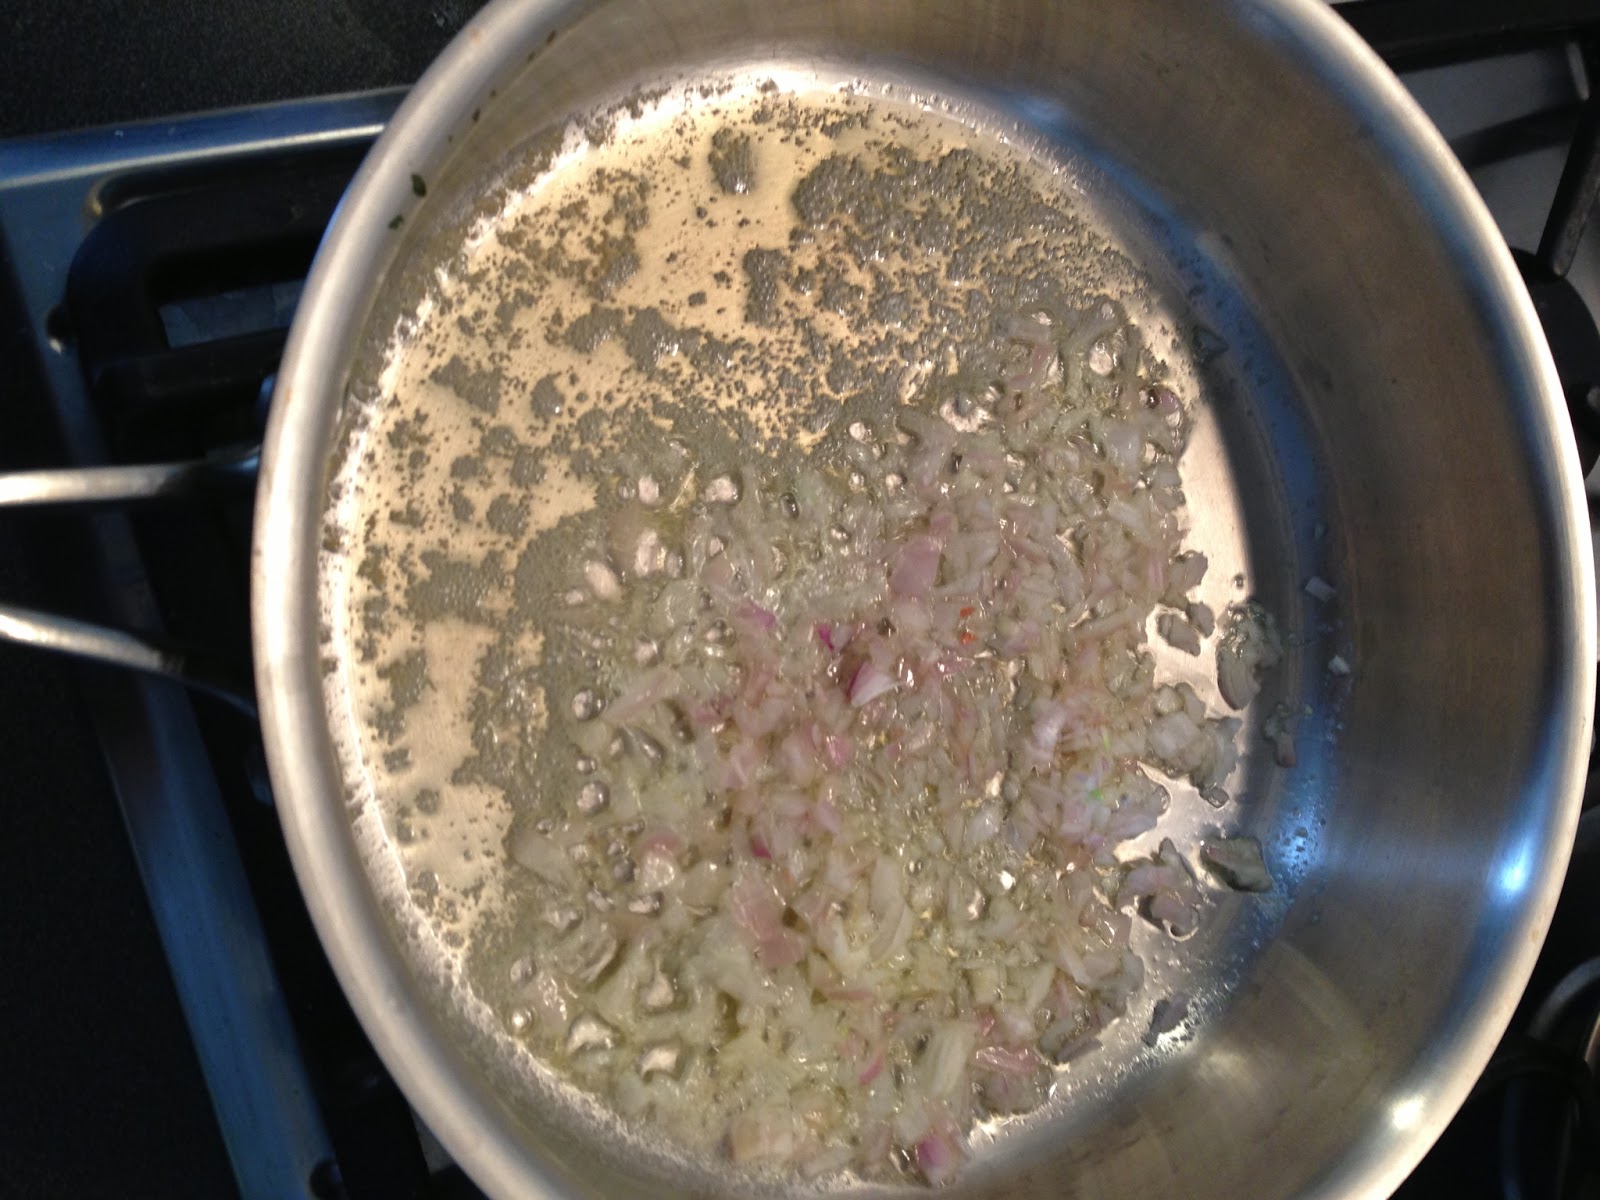
6. Melt the butter in a saute pan and add the shallots.  Mix well and cook for 3 minutes (I actually used a timer for this and the time seems appropriate) over medium heat. The shallots should begin to loose their color, but not brown.

 
7. Pour in the vinegar and then the broth.  Add the mustard and stir well.  Let the mixture simmer over low heat for an additional 3 minutes (I also tried this time and it seems appropriate).

8. Pour in the oil and wisk the sauce together.
9. Pour the hot marinade over the chopped potatoes.  There will be some extra sauce left and it may take some time for the potatoes to soak up the rest of the solution. 

10. Add the minced parsley and mix well.  Taste for seasoning (add more salt and freshly ground pepper as desired) and serve.


Lusia mentions a couple of variations which I think are worth mentioning, but I have not tried them myself.  She recommends adding bacon on Speck, which you can fry in the butter (she indicates to reduce the amount of butter by a tablespoon) before adding the shallots/onions.  I think you could also do this after the salad has been made and mix it in once the meat is cooked.  She also suggests adding diced French cornichons to the salad to 'bump up the sour, crunchy factor' - maybe a great option for a hot, summer day.

I hope you try this recipe and please let me know what you think!

Wednesday, June 5, 2013

Apartment Organization - Master Bedroom

When we saw this apartment for the first time, we decided we wanted the owners to move the second bedroom wardrobe closet out of the apartment completely... we thought we wanted the extra space.  It turned out the owners couldn't manage it and left it in the bedroom.  We moved in and quickly figured out that while we do want the extra space in the second bedroom, we also wanted to the extra closet in the master bedroom as one wardrobe closet was not enough space for us.
Second bedroom closet we moved into the master bedroom
The closets are, of course, IKEA, however they were not decked out with the classic IKEA organizational items.  The closets contained simple shelves and a couple of bars to hang pants, shirts, dresses, etc.  We tried the shelf space as it was for a couple of days and quickly realized we needed more items to help us organize the closet space.
Other closet inside the master bedroom

Larger closet with mirror front.
In this closet, we decided to leave the left hand side mostly as is to hang my husband's button down shirts and pants and my suits.  We did add a tie/belt rack on the left hand side closet.  On the right hand side is where we did most of the work.  We put in four pull out drawers and moved the shelves around for the top of the closet.  The bottom three drawers are mine and the rest are used for my husband's clothing.

Left hand side closet with tie/belt rack

Right hand side closet drawers
Within the drawers themselves I have used the white box organizers to help separate items.  These work for smaller items, but do not work for sweater, pants, ski stuff, etc.
Drawer organizers

At the top of the mirror closet I purchased two white containers (similar to the drawer organizers, but they have a zip top and the bottom does not contain a stiffener, only the sides) from IKEA to store our comforter, quilt, extra sheets, extra pillows, etc.  I love the way these look.  Everything looks so nicely put away and compactly stored.  So clean and sleek! You can find these in the closet section at IKEA.

Smaller closet with opaque white front.
In this closet we installed shoe racks at the bottom of each and one drawer on the right side.  The rest is as you see it.  The shoe rack is great... my husband is not a fan of the fact that these are plastic holders, but he's willing to work with it for now.  Sandals do not work well with this type of shoe rack and so I've placed them next to the laundry basket in these (also IKEA) boxes where they can easily be pulled out.  TBD on if that will change. This closet also contains a belt/scarf rack for my items. 

Right hand side of rack with long clothing items and shoe rack

Right hand side of closet shoe rack

Right hand slide of closet with belt/scarf rack

Also, we bought these laundry baskets which I have placed in the master bedroom as shown in the image below and in the bathroom.  These are great, good quality wicker laundry baskets which look clean and sleek in our rooms.  I'm really liking them... but I'm considering getting another one to be able to split my laundry by colors. :D
Laundry basket in the master bedroom

In practice, we're loving our closet organization so far! We opted for the cheaper wire rack drawers, but you could always purchase the full panel wooden drawers, which definitely look more complete and professional, but you will pay the price for them (8 euro compared to 30 euro per drawer).  Good luck on your closet organization!

Sunday, June 2, 2013

Luisa Weiss's Braised Endives

I cannot sing the praises of this dish enough, it's a must try and a great way to try a new vegetable you may have never tried before (I certainly had not!). I found this recipe in Luisa Weiss' book, My Berlin Kitchen: A Love Story (with Recipes) who writes this blog that I have been following for a couple of years.  

Ingredients
2 endives (Luisa calls for 3 or 4 Belgian endives)
3 tablespoons of olive oil
pinch of sugar
salt and freshly ground pepper to taste
juice of 1 lemon
1 tablespoon of butter (optional; note, I did not use this)

1. Wash and dry the endives and pull off any discolored outer leaves.  Cut them in half lengthwise and trim off the root end, but leave the root end intact.  Cut out the inner core (I struggled with this part, I wasn't exactly sure what consisted of the inner core... you can see in the photo what I removed, but I think more needed to go since it was difficult to cut through while eating). 

2. Heat the olive oil in a heavy, lidded 3-quart saute pan over medium heat.  Put the endives, cut side down, in the pan.  Let the endives cook for 3 to 5 minutes on each side, letting them brown but not burn. 


3. When all the endive halves have been browned on both sides, sprinkle them with sugar, salt and pepper.  Let the sugar melt for a few seconds (I never really observed this, it was more or less immediate - however I probably could have used more sugar... it's difficult to judge what a pinch means!).  Then add the lemon juice, immediately turn the heat to low, and cover the pan (While I used the juice from one lemon, there wasn't much liquid.  Usually braising means the item simmers in a liquid, but since there wasn't much liquid from the lemon and recipe does not call for any other liquid, I was concerned.  After consultation of other braised endive recipes and my husband, it seems this is ok and it turned out great, so don't be worried if there isn't much liquid).

4. Let the endives cook for 15 minutes.  They should be fork tender and caramelized (my endives were large, so they took 30 minutes).  Remove the endives from the pan and put them on a serving plate.  Raise the heat to medium and reduce the cooking juices int the pan to a think syrup, sitting for 2 to 3 minutes (since I didn't have much in the way of extra sauce, I added less then half a ladle of vegetable broth and let it reduce for a little while, not more than 5 minutes).  If you want a richer sauce, add the tablespoon of butter to the pan and stir it in until it has melted and emulsified, creating a silky sauce, an addition 3 to 5 minutes (as per above, I did not use butter).  Pour the sauce over the endives and serve immediately.


Endives are known to be bitter uncooked... braising makes this vegetable much more approachable.  The combination of the sugar and lemon juice draws away the bitterness and the caramelized sides bring a nice roasted flavor to the dish.  The centers of these endives were artichoke heart like, smooth and silky. Enjoy this dish if you try it ... I would love to hear what you think!

Mushroom Tagliatelle

Last weekend I purchased a kilo of mushrooms after being so smitten with my cream of mushroom soup.  While I thought I would be turning them into soup, the mood just never struck my fancy... so I came up with an on-the-fly pasta dish.  I give full credit to my experience of living in Italy to this one... the meal came together without a pre-defined recipe, was pulled together based on what was in the fridge, and is very reminiscent of a typical weeknight meal in Italia.  Funny enough, I felt like I was home (whatever and wherever that is?!) eating this dish... 

Ingredients:
~500 grams of cremini mushrooms sliced and dry
1/2 of a yellow onion
2 tablespoons of olive oil or butter
Tagliatelle pasta (enough for 2 people), any other variety of pasta may be used
minced parsely
salt and pepper (to taste)
large spoonful of ricotta

1. Bring a large stockpot of water to a boil (for the pasta - once boiling, add in salt)
2. Heat olive oil or butter over medium-high heat
2. Add onions and saute until translucent
3. Add sliced mushrooms to the pan and saute.  Add salt and pepper to taste. 


4. Mince parsley and set aside. 
5. Once pasta water is ready, add enough pasta for 2 people (I had leftover Tagliatelle from Italy, but anything will work)
6. Once pasta is cooked al dente, remove from water and add to saute pan with mushrooms.  Add ricotta and combine until all the ricotta is mixed into the dish(this will take some effort, but have some patience and it will come together) .


7. Top with parsley and serve. 

Super simple, really tasty, and hopefully uses up some food sitting in the fridge.  I hope you try it... Enjoy!